Promaster Valve Einbau
Verfasst: 10.04.2006 10:49
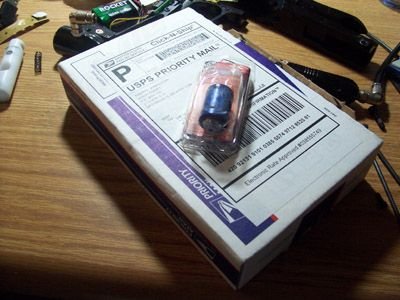
I apologize for the small size of the pictures. I hope they give you a good idea but yeah, this installation isn't that hard. In this guide I am installing the new Empire Balanced Pressure Valve. The benefits to this valve (as stated on the packaging) is 1.) Reduced LPR pressure 2.) Improve air flow consistency 3.) Increase air efficiency and 4.) Reduce dwell setting.
Step 1: Take your valve out of the package(s) it came in.
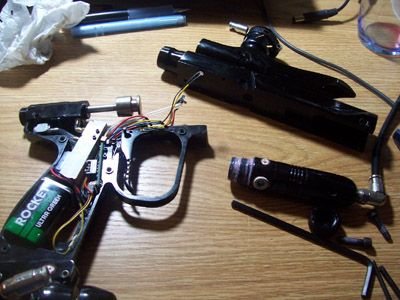
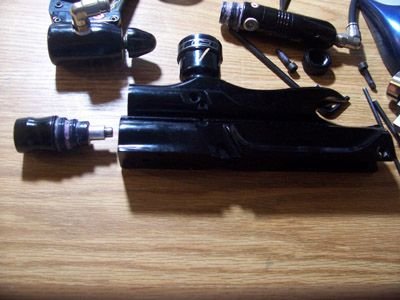
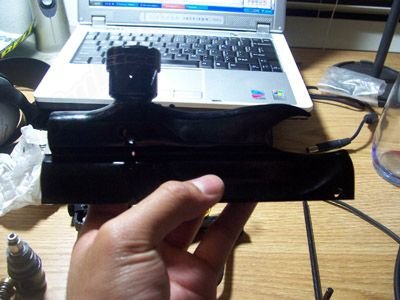
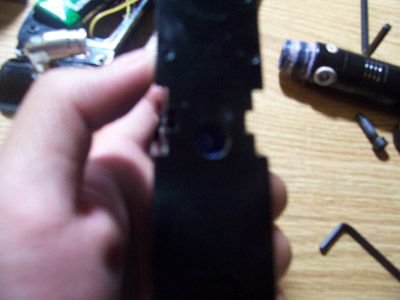
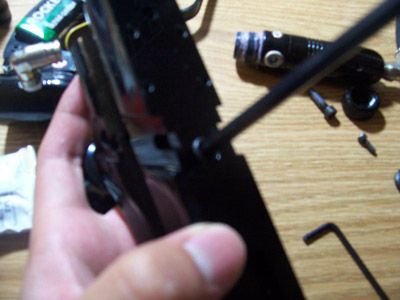
Step 2: Completely disassemble your Promaster.
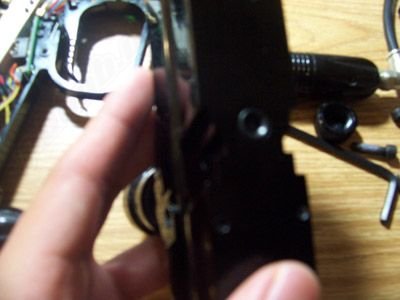
Step 3: Locate the set screw on the bottom of the body.
Step 4: Remove the set screw using a 3/16ths allen key.
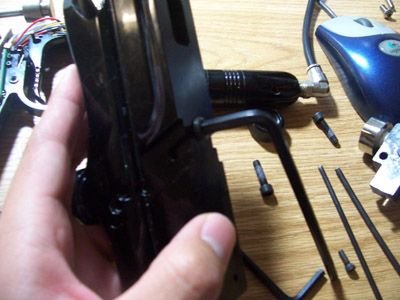
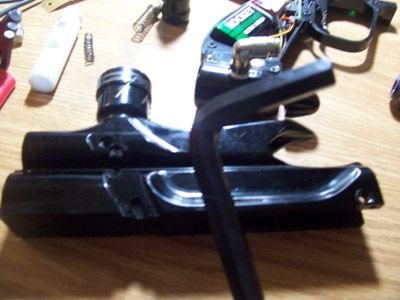
Step 5: Remove the LPR and spring if you havn't already.
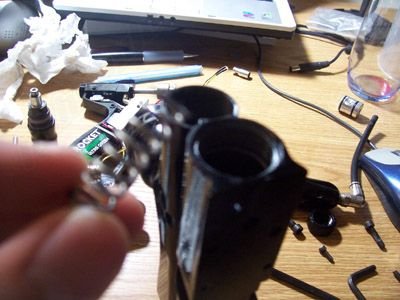
Step 6: LPR removed.
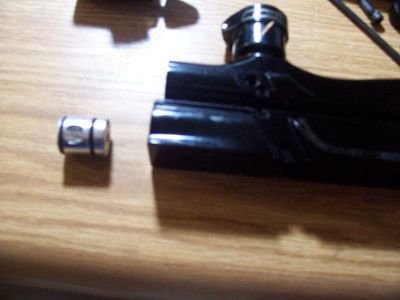
Step 7: Use something to remove the valve. In this case, a 3/6ths allen key. I tried using a straight shot at first but it was too weak and kept bending.
Step 8: Push the valve out from the back so it comes out the front.
Step 9: The stock valve comes out.
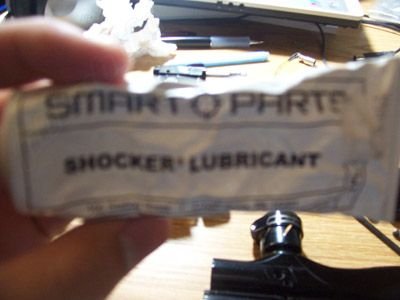
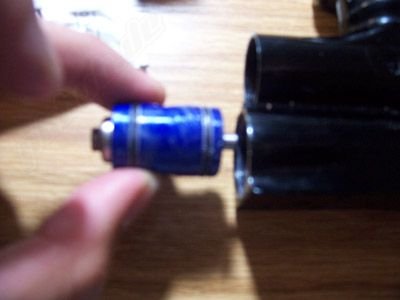
Step 10: Lube your new valve.
Step 11: Insert new valve.
EDIT: Thanks to empirepb48 for reminding me. 'do not use a allen key to push the valve in you can easily scratch the face of the valve and cause it to leak.' I used a straight shot to put it back in (it goes in easier than it comes out).
Step 12: Adjust the new valve so the set screw groove lines up nicely with the hole.
Step 13: Screw in set screw with a 3/16ths allen key.
Step 14: Insert LPR spring and LPR.
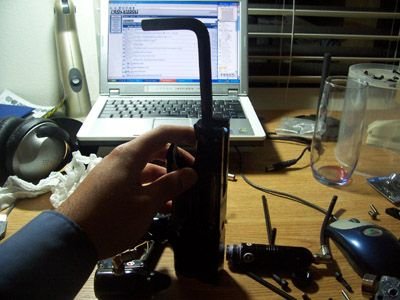
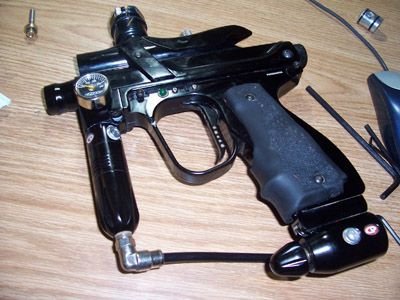
Step 15: Reassmble Promaster.
Note: I am not responsible if you damage your Promaster or if you hurt yourself in this process. :crash: